Introduction
Mole removal is a common dermatological procedure, whether for medical reasons or cosmetic preferences. Understanding the healing stages is crucial for proper aftercare and minimizing complications. This article provides an in-depth look at the mole removal healing stages, supported by visual references (pictures), and answers frequently asked questions. By the end, you’ll know what to expect during recovery, how to care for the wound, and how to identify signs of abnormal healing. Let’s explore each stage in detail.
1. Immediate Post-Removal Stage (Days 1–3)
The first 24–72 hours after mole removal are critical for initiating the healing process. Depending on the removal method—such as shave excision, surgical excision, or laser removal—the wound may appear red, slightly swollen, or covered with a small bandage. A scab begins to form as blood clots and the body sends white blood cells to protect the area from infection.
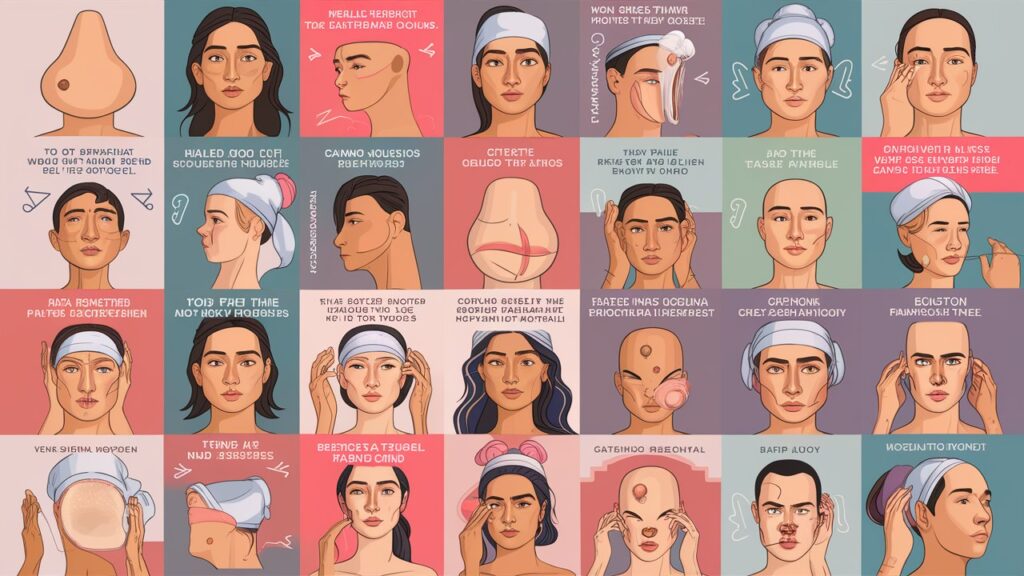
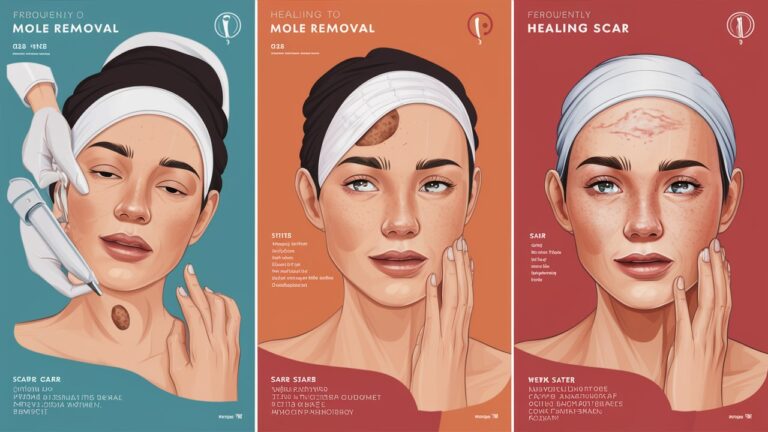
During this stage, it’s normal to experience mild tenderness or itching. Avoid touching the wound directly, and follow your dermatologist’s instructions for cleaning and dressing the site. Pictures of this stage often show a fresh, shallow wound with minimal scarring, though this varies based on mole size and depth.
2. Scab Formation and Early Healing (Days 4–7)
By day 4, a protective scab will fully form over the wound. This scab acts as a natural barrier against bacteria and environmental irritants. Underneath, new skin cells begin to regenerate. While the scab may look dark or crusty, this is a normal part of the healing process.
Avoid picking or scratching the scab, as this can disrupt healing and increase scarring risk. Photos of this stage often highlight the scab’s appearance, which may vary from yellowish to brownish depending on skin type and wound care. Redness around the edges of the scab may persist but should gradually fade.
3. New Skin Development (Days 8–14)
Between days 8 and 14, the scab naturally falls off as the underlying skin matures. The newly exposed skin will appear pink, thin, and slightly shiny. This delicate tissue is prone to sensitivity, so continue avoiding sun exposure and apply recommended ointments (e.g., petroleum jelly) to keep the area moisturized.
Pictures of this stage often reveal a smooth, pink patch of skin where the mole once was. Some patients may notice mild hyperpigmentation or textural changes, which usually resolve over time. Gentle massage with silicone gel (if approved by your doctor) can improve scar appearance.
4. Full Healing and Scar Maturation (Weeks 3–6+)
By week 3, the wound enters the final healing phase. The pinkness fades, and the skin becomes closer in color and texture to the surrounding area. Collagen remodeling continues beneath the surface, which can take several months. Scars from surgical excisions may appear raised or red initially but flatten and lighten over time.
Comparative pictures of mole removal healing stages at this phase show significant improvement, with scars blending into the skin. Patients with darker skin tones may experience prolonged hyperpigmentation, requiring targeted treatments like vitamin C serums or laser therapy.

5. The Role of Pictures in Tracking Healing Progress
Photographic documentation is invaluable for monitoring mole removal healing stages. Pictures provide a visual timeline to assess whether the wound is healing normally or showing signs of infection (e.g., increasing redness, pus). Many dermatologists recommend taking daily or weekly photos to compare changes.
For example, images of abnormal healing—such as widening scars, persistent swelling, or greenish discharge—can help patients seek timely medical intervention. Always share concerning pictures with your healthcare provider to ensure proper care.
6. Aftercare Tips to Promote Optimal Healing
Proper aftercare significantly impacts the success of mole removal healing stages. Key tips include:
- Keep the wound clean: Use mild soap and water, pat dry gently.
- Avoid sun exposure: UV rays can darken scars; use SPF 30+ once the scab falls off.
- Stay hydrated and eat nutrient-rich foods: Vitamins A, C, and zinc support skin repair.
- Follow your doctor’s advice: Use prescribed antibiotics or ointments as directed.
Neglecting aftercare can lead to complications like infections or keloid scars, emphasizing the importance of diligence.
7. Potential Complications to Watch For
While most mole removals heal smoothly, complications can arise. Signs of trouble include:
- Infection: Increased pain, warmth, redness, or pus.
- Hypertrophic scars: Thick, raised scars that remain within the wound boundaries.
- Keloids: Overgrown scars extending beyond the original site, common in genetically prone individuals.
- Delayed healing: Slow progress due to poor circulation or underlying health conditions (e.g., diabetes).
If you notice these issues in your healing stages pictures, consult a dermatologist immediately.
Frequently Asked Questions (FAQs)
Q1: How long does it take for a mole removal scar to fade?
A: Most scars improve significantly within 3–6 months, though full maturation can take up to a year.
Q2: Can I exercise after mole removal?
A: Avoid strenuous activity for 48 hours to prevent sweating and wound irritation.
Q3: When should I worry about infection?
A: If redness spreads, pain worsens, or pus develops after day 3, seek medical help.
Q4: Is it safe to pick the scab?
A: No—picking can cause scarring and delay healing. Let it fall off naturally.
Q5: Will my scar look like the pictures online?
A: Scar appearance varies by individual. Follow aftercare guidelines to optimize results.
Conclusion
Understanding the mole removal healing stages empowers you to care for your skin effectively and recognize red flags. By combining proper aftercare, photographic monitoring, and professional guidance, you can achieve the best possible outcome. Whether your goal is health-related or cosmetic, patience and attention to detail are key. Always consult your dermatologist with concerns, and remember—every healing journey is unique.
This guide, complete with descriptions and references to pictures, ensures you’re well-prepared for each phase of recovery. Stay informed, stay vigilant, and let your skin heal beautifully!
